Tuesday, June 19, 2012

Cute Under-Bed Storage

My husband and I are buying our first home! We move in just a few short weeks, and I have been just a little panicky about moving all our stuff and figuring out where I want things to go at the new place. Of course half the fun of buying a new home or moving into a new place is getting to decorate it and make it your own. Our current house has a play room and we aren't really planning on having a play room at the new home, except for moving some of our son's  BIG toys like a basketball hoop and train table to the rec room in the basement. So, I have been trying to figure out how to fit all of my son's  toys in to his new room which is about the same size as his old room. I want him to have plenty of floor space. So I was thinking about how I could use under the bed storage and I remembered a chest of drawers that Matt and I inherited when we got married. Matt and and his dad built the chest of drawers when Matt was kid. It barely survived all of his family's moves when his dad was in the navy and our family's numerous moves. This last move finally did it in and the  unit that held the drawers fell apart.

The drawers are just narrow enough in height that they fit perfectly under our son's bed! SO I decided to re-purpose them a bit. I cleaned them up and added a fresh new coat of white paint.


Then I added a strip of chalkboard paint and labeled the drawers with chalk!


They look perfect in our son's current room and I know they are going to go perfect in his new room too!

Thursday, May 10, 2012

Mother's Day Handmade Gifts


All week I have been trying to think of some creative handmade gifts for Elisha and I to make together for his grandmothers for Mother's Day. We have been working out in our flower beds this week and doing some spring cleaning around the house and while doing these things I stumbled upon a few ideas. When organizing and cleaning out my office/craft room I found some soy wax candle making supplies that I had ordered off Etsy last year when I thought that I might want to start making candles to list in my shop (I found out that I do NOT want to do that anymore).
 Anyway, I decided that Elisha and I would paint up some of the candle votives and make some candles to put in them and pretty them up for the grandmas.

Here is what we came up with:


 Here is how you can make your own:
What you will need (ignore the coffee making supplies in the background ;):
1 lb of soy wax flakes
wicks
wick bases
double boiler
fragrant oils  (I used coconut and lime)
food coloring or dye (I didn't color our candles)
Paints and paint brushes
Ribbon.

First, put water in your base pot for the double boiler and then insert the inside pot and heat it up to a boil on the stove.
  Add, wax flakes and let them melt (you can stir it if you like). 

While the wax was melting I painted our candle votives.


Once, the wax has melted stick wick in wax and them pull it out. Let the wick dry.


Stick the dry waxy wick in it's base and glue it to the bottom of the  votive.


Use a dowel rod or clothes pin to hold the wick up.
After votive has dried from painting, pour molten wax in it.
Then make a cute little card or label to stick on it!


...OR if your don't want to mess with the candle mess fun you can use the cute, painted votives for planting flowers (I let Elisha make this one for me;) ).

Happy Mother's Day, Mamas!


Tuesday, May 1, 2012

Crayon Caddy

In honor of my son, Elisha's 3rd birthday today, I wanted to share the crayon caddy I made for him as one of his gifts, as well has a neat tutorial to show you how to make one too. I didn't take pictures of my process of making his caddy and kind of just made up my own pattern. But, I found a great tutorial at Just Another Hang Up that shows you how to make a cute little crayon caddy.

Here is the super cute caddy from Just Another Hang Up:


Here is the crayon caddy I made for my boy:

I can't wait to give Elisha his caddy tonight at his birthday party! I know it will be something he will want to take in the car on trips and to church as a quiet activity during service. :)

Monday, March 26, 2012

New Name

So, a few new things going on over here. I know I've not been real active in the blog/craft community in the last few months. I have been majorly distracted with things like working out/getting healthy, trying to figure out our family's next move/house hunting as first time home buyers (my husband is almost done with his license in Massage Therapy and we will need to relocate for him to be closer to better job opportunities and schools as he wants to keep going to school to study medicine) and healing from a car accident. So anyways, so I don't go crazy with impatience while all these changes are taking place I plan on making myself busy with my craft/sewing projects. I'm really ready to get serious about my Etsy Shop, and I know I have already changed the name like 3 times or something, but I wanted to change it to something that wasn't so much as a mouth full to say.

 I was thinking the other day of when I was in high school and discovered my knack for handmade crafts and had thought of the name K*Duds. I'm not sure why I didn't use it in the first place when I began all of this back up a couple of years ago, but it found its way back to me a couple of days ago. I'm pretty sure this one is going to stick. :)

Here are the updated links:
Etsy Shop:  http://www.etsy.com/shop/kdudsdesigns
Blog:  http://kduds.blogspot.com/

Saturday, February 11, 2012

Valentine Candy Bouquet

I was having a hard time thinking of what to  make/get for my hubby for Valentine's Day, then I remembered seeing these candy bouquets in a store once, but I didn't want to pay the price they were asking and decided I could make one myself cheaper. The result was a success!


 All you need to make your own candy bouquet is:
- a variety of candy
-Styrofoam used for making flower arrangements
- tooth picks or skewers
- gift tissue
-a pretty little box, can, tin etc.
-tape
-scissors

1) First I covered my Styrofoam with valentine's tissue paper.
2) Stick the Styrofoam down in your container.
3) Tape candy to tooth picks or skewers and stick them all over the top of the Styrofoam piece, varying the height of the pieces.
4) Pop some tissue out of the sides to finish it off.

Super easy, super cute and at least half the price of the store bought. Best of all it was handmade with love!

Thursday, January 12, 2012

Creative Organizing


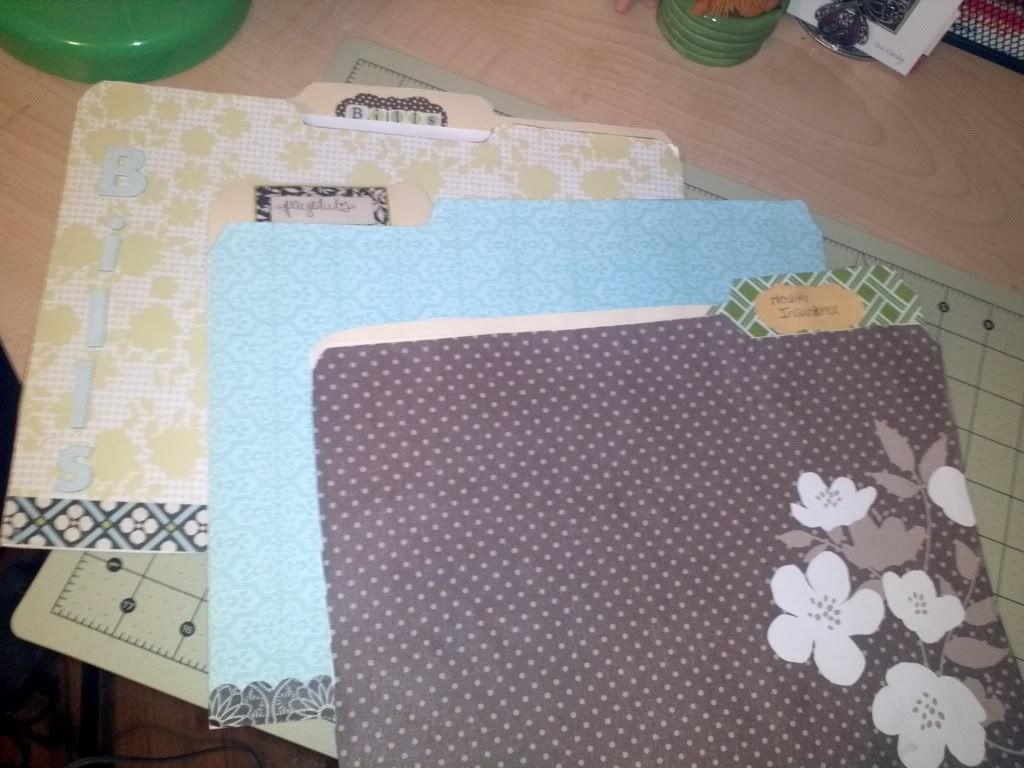
I've been away from the blog for a few weeks now, but I'm back with some new projects. I have been busy getting a few things organized in my office. I'm still in a New Year haze trying to tweak a few things around the house in order to accommodate some new changes we are making. A few the changes we are making is to just be better with our budgeting and keeping track of papers/important documents in a neat organized way. So, to make boring stuff more fun I revamped our system a bit and gave it some more color.

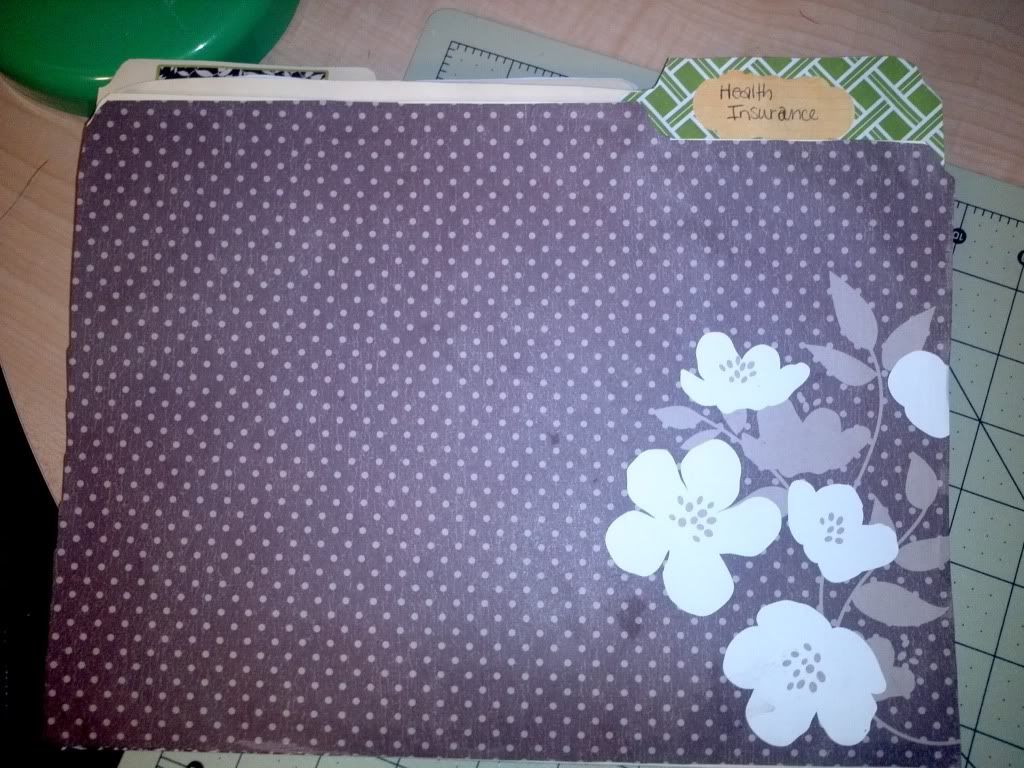
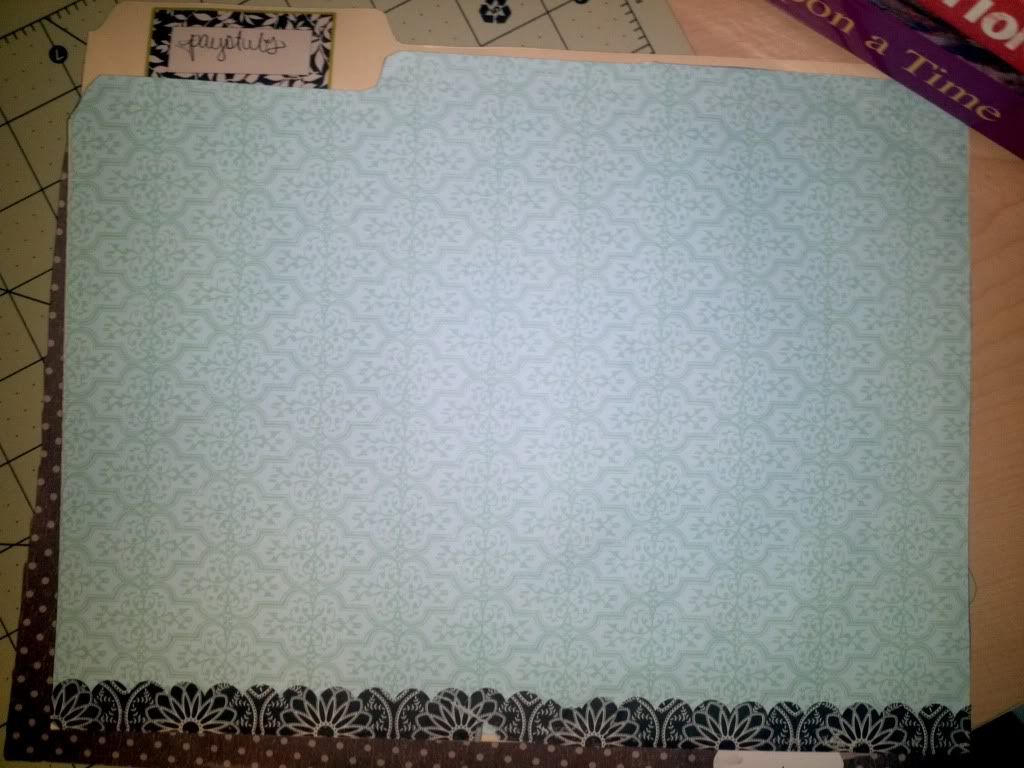
The first thing I did was cover our folders that held bills, pay stubs and insurance info. SUPER easy to do. I just traced the folder on the pretty paper, cut it out and glued it on the folders. My hubby got me a Sizzix BigKick machine for Christmas and I used that to cut out some embellishments and added a few stickers.

Next I placed the folders in the WAY cute Vinea wall mounted file holder. This file holder can be found at See Jane Work, but I found it a little cheaper at Amazon.


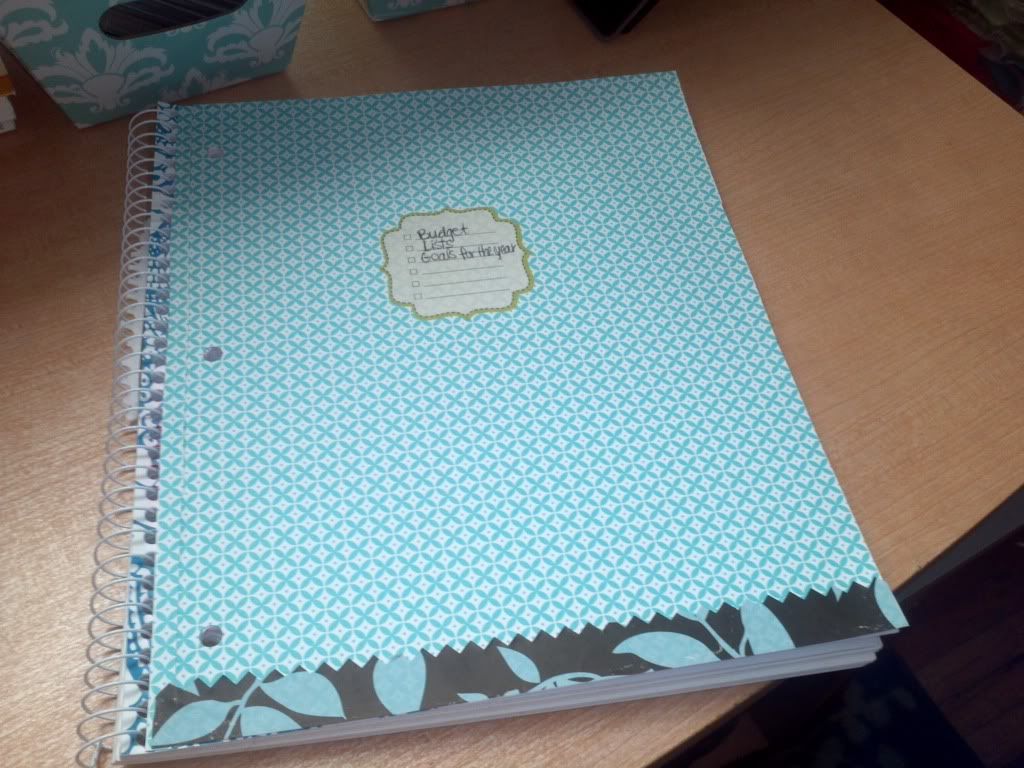
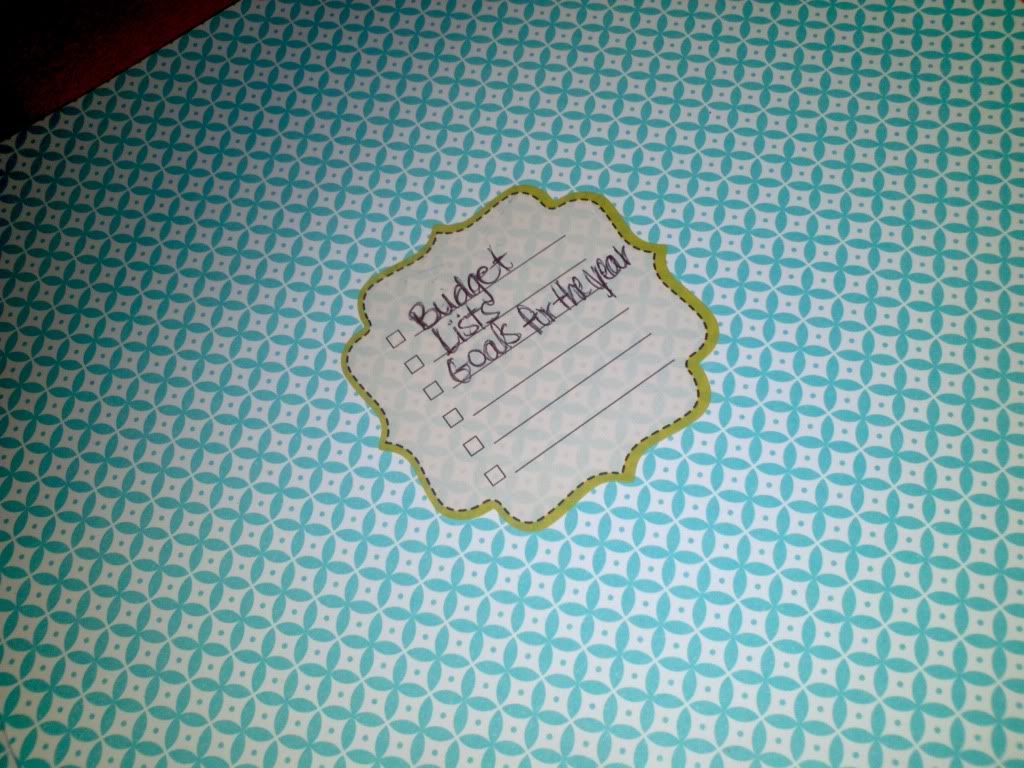
I also decided to give my budget book a new look. It does make budgeting a little more fun now. I just used the same concept as decorating the file folders.

I plan on doing a lot more similar projects to make my office more bright and cheery!